
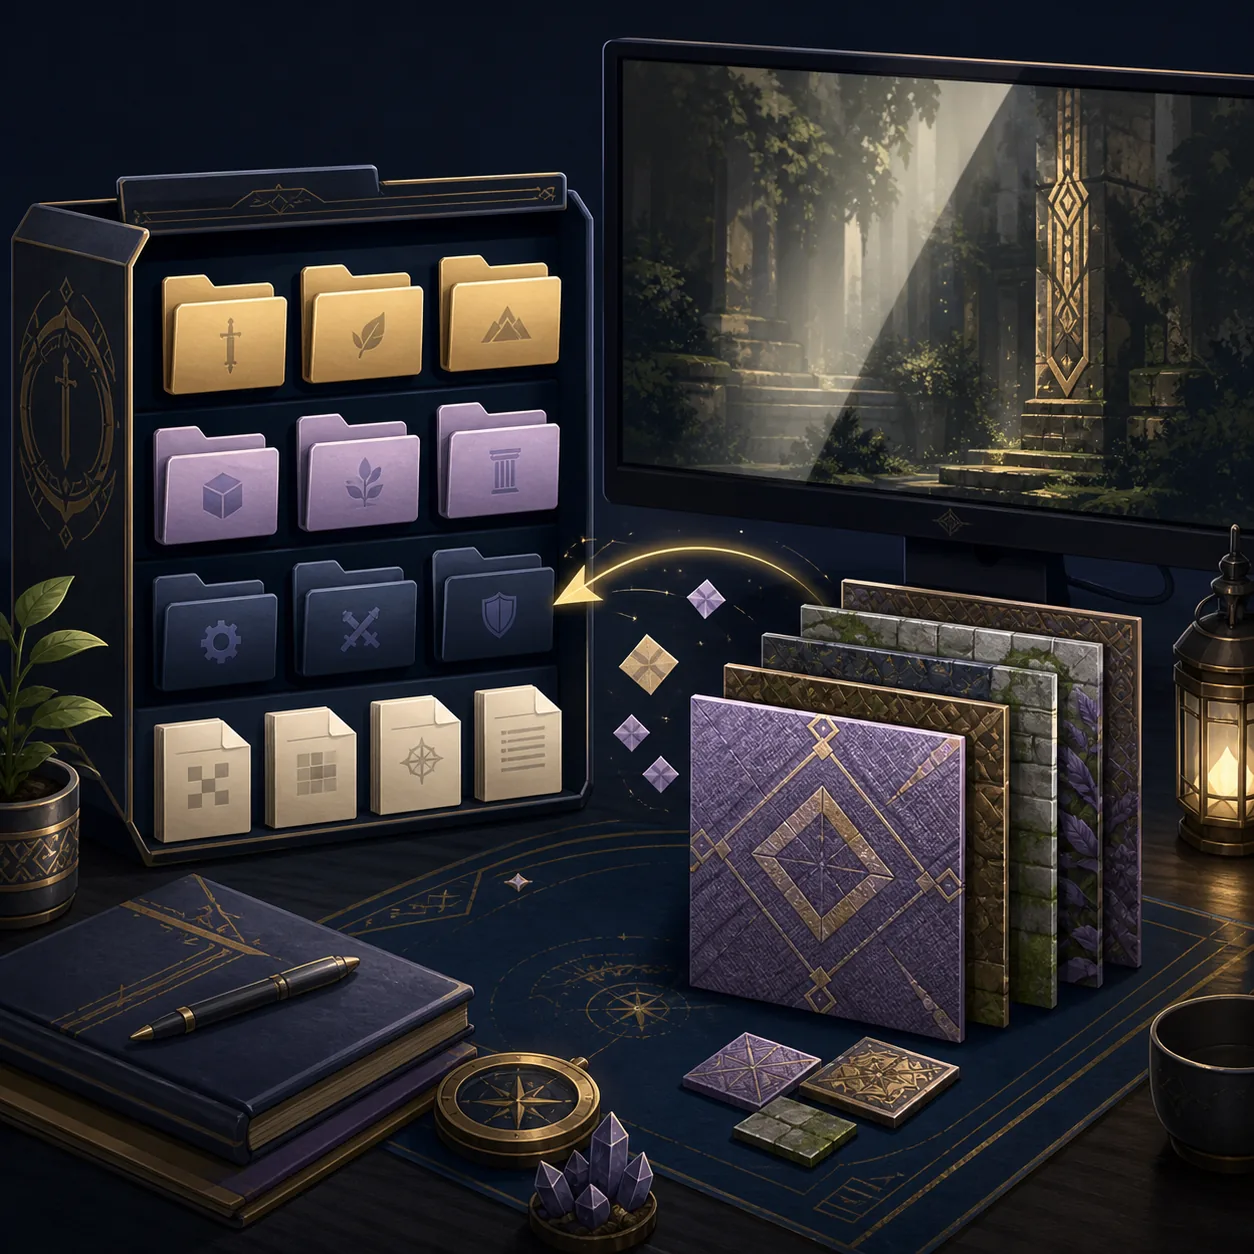
Install Dusklight texture packs only after the current official application, your supported game data, graphics backend, input, saving, and loading work without third-party files. Back up the user-data area, keep the pack archive outside the active installation, and add one pack at a time.
The official source code looks for replacements under the application data directory in a folder named texture_replacements. The exact parent directory depends on the platform and the data-folder or portable-mode setting, so use the project-defined data location rather than guessing a Windows path on Android, macOS, Linux, Steam Deck, or iOS.
This page explains how to stage, test, remove, and report a pack. It does not distribute Nintendo game data, extracted commercial textures, anonymous mod archives, or a replacement for the official project documentation.
- Current release checked
- v1.4.1 · June 16, 2026
- Official replacement folder
- ConfigPath/texture_replacements
- Recommended test order
- Backup · one pack · menus · gameplay
- Setting to verify
- game.enableTextureReplacements
- Recovery rule
- Keep a clean baseline
Before installing a Dusklight texture pack
A texture pack changes how matching visual resources are loaded or displayed; it is not the same as installing the Dusklight application. That distinction matters when you troubleshoot. If the clean application cannot launch or load your own supported GameCube data, a texture pack will only add another variable.
The official release check for this guide found v1.4.1, published June 16, 2026. The release notes describe fixes for texture replacement load ordering and missing interface textures from the v1.4.0 period, so check the application version before testing a pack written for an older Dusk or Dusklight build.
Use packs with a visible author, supported version, installation notes, license or usage boundary, and removal instructions. Do not treat a search result, a repack site, or a file with hidden contents as an official download. If a pack includes copyrighted game assets, follow the source owner's rules and the laws that apply to you; this site does not mirror those files.
- Verify the clean buildLaunch the current official release, load your own supported game data, test input, save once, reload, and exit normally.
- Back up user dataCopy saves, settings, logs, and any existing texture_replacements folder to a dated location outside the active folder.
- Read the pack instructionsNote the supported release, expected folder structure, optional settings, known conflicts, and removal method.
- Choose one packDo not combine several packs before you know that the first one loads and renders correctly.
Find the Dusklight data folder
Dusklight's texture replacement code resolves a project data path and then appends texture_replacements. In practical terms, you are looking for the data directory selected by Dusklight, not necessarily the folder that contains the executable. Portable mode, a custom data-folder setting, a package sandbox, and a mobile storage permission can all change the parent location.
If you cannot identify the location, open the official installation or project documentation for your platform first. Look for a Data Folder or portable-mode choice, confirm that the folder is writable, and create a backup before changing it. Do not paste a Windows AppData path into an Android or iOS file manager and assume the same layout exists.
Once the parent is confirmed, the target is the documented texture_replacements directory. Keep the pack's own subfolders intact unless its author explicitly says to merge files. A common failure is adding an extra nesting level, such as texture_replacements/pack-name/texture_replacements/pack-name, so compare the archive structure with the instructions before launching.
| Platform | What to verify | Safe first action |
|---|---|---|
| Windows | The selected Dusklight data folder is writable and separate from your backup | Open the project data location, then use texture_replacements inside it |
| Linux / Steam Deck | Desktop Mode, Gaming Mode, AppImage or package path, and file permissions | Confirm the same data folder is visible to the build you launch |
| macOS | Apple silicon or Intel build and the app's data-folder choice | Use the project-defined folder instead of guessing a Library path |
| Android | ARM64 build, storage permission, and the app-selected Data Folder | Choose an accessible folder in the app and back it up before copying |
| iOS | Whether the current build exposes a writable data path for replacements | Follow the current official platform instructions; do not assume desktop folders exist |
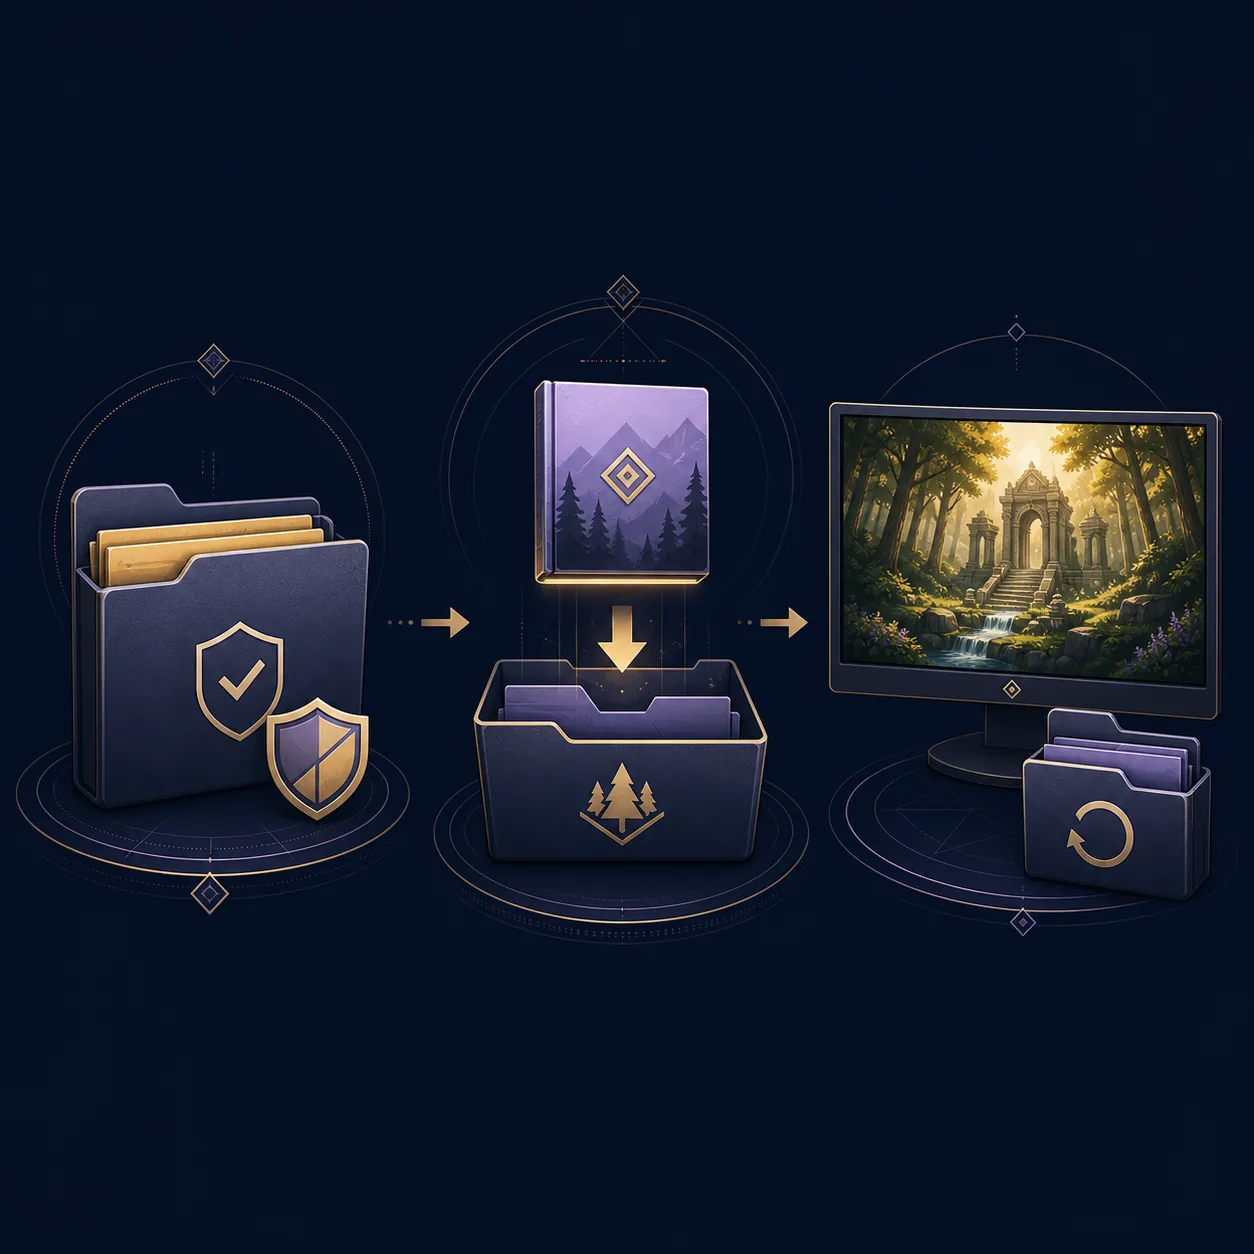
Install one texture pack at a time
Make a copy of the downloaded archive before extracting it. Keep the original archive in a separate evidence or backup folder, then extract a working copy so you can compare the author's structure if the pack does not load. Do not rename every folder immediately; names can help you identify which pack created a problem.
Copy only the documented replacement files into ConfigPath/texture_replacements or the equivalent project data directory. If the instructions say to keep a pack folder, keep that folder. If they specify a direct file merge, take a backup of the destination first. Avoid mixing a texture pack with a controller remap, randomizer branch, shader preset, or other mod during the first test.
If the pack includes a setting toggle, verify game.enableTextureReplacements is enabled in the configuration used by this launch. Change one setting, record the old value, and keep the clean configuration backed up. A missing pack can be a path problem, a disabled feature, a stale configuration, an unsupported release, or a pack whose files do not match the expected resource names.
- Stage the archiveExtract a working copy and keep the original download unchanged outside the active data folder.
- Check the top-level structureMake sure you are not copying a second wrapper folder when the instructions expect the pack contents.
- Copy to the targetPlace the documented pack directory or files under texture_replacements in the selected data folder.
- Record the changeWrite down the pack name, version, application version, graphics backend, and date before launching.
- Launch with no other changesKeep controllers, randomizer files, shaders, and unrelated mods unchanged for this first comparison.
Test menus, gameplay, and performance
Start with the title screen and interface, then visit one repeatable gameplay scene. Check that menus, character models, environment textures, map elements, effects, saving, and loading still behave as expected. A pack that looks good in one room can still fail when a menu or a different resource group is loaded.
Compare the same scene before and after the change. Note whether the result is a visual replacement, a missing texture, a black screen, a crash, a long stall, or an ordinary performance limit. Use the same graphics backend and resolution for the comparison, then change only one variable if you need a second test.
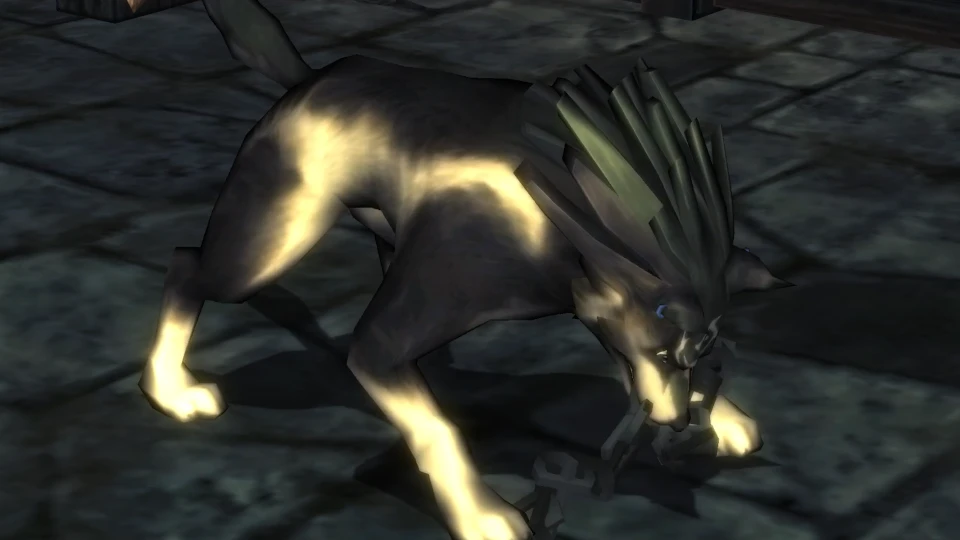
The official project media below is a visual checkpoint, not proof that a particular community pack is supported. Treat it as a reminder to check real gameplay output rather than judging success only by whether the application starts.
- Check the title screen and menus for missing interface textures.
- Load a repeatable scene with lighting, environment, and character assets.
- Save and reload once before adding another pack or setting.
- Compare frame pacing and memory pressure with the clean baseline.
- Keep a short log of the first visible failure and the last change made.
Fix common texture pack failures
Do not delete saves or reset every setting as the first response. Disable the pack or restore the backed-up texture_replacements folder, then check whether the clean baseline works. This separates a pack problem from a release, game-data, driver, input, or permissions problem.
If the pack worked before an application update, compare the pack's documented supported version with the current release and read the official release notes. If the clean build works but the pack fails, keep the pack archive and logs for a focused compatibility report instead of downloading several replacements from unverified sources.
For Android and iOS, treat sandbox and storage permissions as a first-class troubleshooting category. A file can exist in a file manager and still be invisible to the application if it was copied outside the selected Data Folder or if the platform denied access.
| Symptom | Likely first check | Recovery |
|---|---|---|
| Nothing changes | Wrong parent folder, extra nesting, or replacements disabled | Remove the pack, inspect the documented structure, and retest one pack |
| Missing UI or environment textures | Pack version, load order, or incomplete extraction | Return to the clean baseline and compare with v1.4.1 or newer |
| Black screen or crash | Unsupported files, duplicate packs, backend pressure, or stale config | Disable the pack and restore the last known-good data folder |
| Stutter after enabling a pack | Texture size, memory use, shader compilation, or device limits | Test a smaller or documented pack after confirming the clean baseline |
| Android / iOS pack is invisible | Selected Data Folder or storage permission | Use the platform's current official data-folder flow and copy again |
| Update breaks an old pack | The pack targets an older Dusk or Dusklight build | Keep the old archive, check support notes, and wait for a compatible update |
Remove or update a Dusklight texture pack safely
To remove a pack, close Dusklight, move the pack folder or documented files out of texture_replacements, and launch with the same clean configuration. Moving the files to a dated quarantine folder is safer than deleting them immediately because it preserves evidence for comparison.
Before updating Dusklight, back up saves, settings, and the working pack archive. Install the new official application separately when possible, confirm the clean build, then reintroduce the texture pack only if its author or testing evidence supports the new version. Do not copy an old configuration wholesale into a new install without checking which settings changed.
If a pack includes commercial game assets, do not upload your copy to an issue, mirror, or public guide. Share the pack's official source, version, steps to reproduce, and non-sensitive logs instead. That keeps the page useful without turning a troubleshooting workflow into an unauthorized download.
- Close the applicationDo not move replacement files while Dusklight is still reading them.
- Quarantine the packMove the documented pack folder to a dated backup location instead of deleting it first.
- Verify the clean launchRun the same scene and save test to confirm the baseline is restored.
- Update from the official sourceUse the verified release page and match the platform and architecture.
- Re-test before adding moreAdd the pack back only after the new clean build works and the pack remains in scope.
Dusklight texture pack FAQ
Where do I put a Dusklight texture pack?
The official texture replacement code uses the application data directory and a folder named texture_replacements. Find the data folder selected by your platform or portable-mode setting, then follow the pack's documented subfolder structure. Do not assume the Windows path is correct on Android, macOS, Linux, Steam Deck, or iOS.
Does Dusklight support texture replacement?
The official project includes texture replacement code and a game.enableTextureReplacements setting. Individual packs still need compatible files, a clear source, and a supported application version. Support for the feature does not guarantee that every community pack works.
Can I install several texture packs together?
Wait until one pack works on its own. Then add another only if the authors document compatibility and you keep a backup. Overlapping files can make a missing texture or crash difficult to attribute.
Why is my texture pack not loading?
Check the selected data folder, extra nesting, extraction completeness, the replacement setting, the pack's supported version, and whether another pack is overriding the same resources. Restore the clean baseline before changing several variables.
Will a texture pack damage my save?
A visual replacement should not be treated as a safe reason to skip backups. Keep a dated copy of saves and settings outside the active data folder, and test the pack before continuing a valuable run.
Can I use old Dusk texture packs with Dusklight?
Not automatically. The project name and internal behavior can change across releases. Check the pack instructions, compare the supported version, and test it in an isolated copy before using it with a working setup.
Can I download Twilight Princess texture packs here?
No. This guide explains how to evaluate and install a pack from its legitimate source, but it does not host or mirror Nintendo game data, extracted commercial textures, anonymous archives, or repacks.
Sources checked on August 22, 2026 official v1.4.1 release, official texture replacement source, TwilitRealm install guide, Dusklight repository.